


Showing posts with label Renee Biertempfel. Show all posts
Showing posts with label Renee Biertempfel. Show all posts
Saturday, November 8, 2014
Crisp Autumn Breeze (Scrap Candy)

Open 700x700 (You can resize later) To aid in the creation of the tag, make your background white.
For the purpose of this tutorial, I will refer to the kit and tube I chose.
The kit I chose is huge (and beautiful!) and as a result this is a very element heavy tag.
I will try to be as clear as possible, but please refer to my tag for help.
The kit I chose is Crisp Autumn Breeze by Kizzed by Kelz
This kit and more can be purchased from Scrap Candy
First lets start by c/p paper 12 on to the canvas above the white background.
Apply Gem Mask 119, which can be found at Gems Taggin Scraps. Merge Group.
Now we can start adding the main elements to the canvas.
Don't forget to resize and sharpen if necessary and add drop shadows if you would like :)
Now c/p element 51, slightly off-center and to the right.
Next c/p element 48 above the previous element.
Next I added element 2 above and to the left of the previous element
Add element 56 next and place toward the bottom of the elements you have so far.
PLEASE TAKE A MOMENT TO SAVE YOUR PROGRESS
Open element 60 and add it towards the top center.
Now open element 57, mirror and place towards the bottom.
At this point you should have something like this:

OK, Are you still with me? Let's move on!
Now you want to add your tube.
Copy and paste your tube into the center of the "cluster" you created so far.
PLEASE TAKE A MOMENT TO SAVE YOUR PROGRESS
Now continue to add elements by adding element 8 to the right corner of the tag.
Next add element 59 across the bottom of the tag.
Continue by adding element 127 above the previous elements.
Now open element 50, resize, mirror and place on each end of the tag.
Open element 109 and place in between the flowers (see my tag)
You may want to use a plug-in to help bring out the word art a little more.
I used Eyecandy 4000 Gradient Glow and the programs drop shadow.
Continue to add additional elements to create your tag!
I used elements to finish my tag:
5
7
19
26
29
30
32
36
44
62
77
Once you are happy with the layout of your tag, SAVE!
Don't forget to add any last minute drop shadows if you wish!
Resize tag if you would like as well!
Add Copyright information, your license and your favorite font for the name!
The font I used is Acryle Script
I usually save in .png but please save your final result in your chosen format.
This tutorial was written on 11/8/14 by Christie.
Any similarities to any other tutorial is purely coincidental.
All artwork and filters are copyright of the artists and filter creators.
All tutorials are created with PSP9 and are for those with a working knowledge of Paint Shop Pro.

Thursday, October 2, 2014
Red Faery (Honored Tags)

Open 700x700 (You can resize later) To aid in the creation of the tag, make your background white.
For the purpose of this tutorial, I will refer to the kit and tube I chose.
This beautiful kit and more can be purchased at CDO
First open element 13 and c/p onto the center of the canvas
Now you want to add your tube.
PLEASE TAKE A MOMENT TO SAVE YOUR PROGRESS
Now start adding your elements to create your tag!
I used Elements:
06
10
12
15
19
20
Once you are happy with the layout of your tag, SAVE!
Don't forget to add any last minute drop shadows if you wish!
Resize tag if you would like as well!
Add Copyright information, your license and your favorite font for the name!
The font I used is Jellyka King's Hat
I usually save in .png but please save your final result in your chosen format.
This tutorial was written on 10/2/14 by Christie.
Any similarities to any other tutorial is purely coincidental.
All artwork and filters are copyright of the artists and filter creators.
All tutorials are created with PSP9 and are for those with a working knowledge of Paint Shop Pro.

Sunday, July 6, 2014
Spirit in the Depths (Honored Scraps)

Spirit in the Depths Tutorial
Open 700x700 (You can resize later) To aid in the creation of the tag, make your background white.
For the purpose of this tutorial, I will refer to the kit and tube I chose.
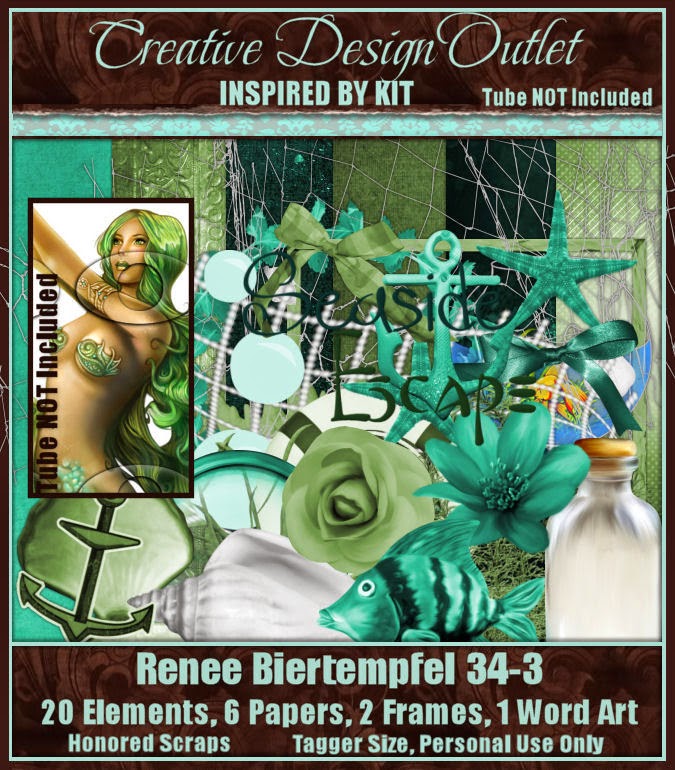
The kit I chose is Scraphonored_IB-ReneeBiertempfel-34-3 by Honored Scraps
This kit and more can be purchased at CDO
Start by opening frame 02, resize 65% and place it in the center of your canvas.
Using your magic wand select inside the frame and expand by 5 pixels.
Choose a paper of your choosing. I chose paper 05 and resized it 75%.
Copy and paste paper, invert and hit delete on your keyboard. Move below frame. Deselect.
Now you want to add your tube.
Place your tube where you would like and then start adding elements to create your tag.
Now would be a good place to SAVE :)
I used Elements:
02
06
07
11
13
15
17
18
19
20
Once you are happy with the layout of your tag, SAVE!
Don't forget to add any last minute drop shadows if you wish!
Resize tag if you would like as well!
Add Copyright information, your license and your favorite font for the name!
I usually save in .png but please save your final result in your chosen format.
All Done!
Please visit Created by Christie for links to extras
and information on how to request this tag (if offered).
This tutorial was written on 7/6/14 by Christie.
Any similarities to any other tutorial is purely coincidental.
All artwork and filters are copyright of the artists and filter creators.
All tutorials are created with PSP9 and are for those with a working knowledge of Paint Shop Pro.
Subscribe to:
Posts
(Atom)